A while ago, I came across an article online about something called Magic Mirror. I did not know what to do with it but loved the idea!
Basically it’s a regular computer screen behind a 1-way mirror that allows you to display informations in a very elegant way.
After a while I came up with 2 ideas that could be useful in such a device:
- Show upcoming events from calendars (private, work, social network events).
- Show next passage times of the bus stops down the street.
- Also, showing the date and wheather forecast would be a nice touch.
Conception
There are a LOT of existing implementations on the web, mostly based on a Raspberry Pi and various softwares (DAKboard, HomeMirror, MagicMirror, …), but I wanted to make something fitting my needs.
So I decided to write a few specs about the hardware:
- Be powered on only when someone is around.
- Be as low-power consuming as possible.
- Re-use parts that I already have.
- Integrate seamlessly in the room (no cable or anything).
It was also very important that the mirror remains a… mirror. Meaning that the informations displayed should be as discreet as possible, leaving as much space possible for the person in front of it, which was not the case in existing softwares.
The bathroom mirror seemed to be the perfect candidate for this project. It has a certain depth which will allow to hide stuff behind. It is cheap (15€ at Ikea’s), so no pressure if something goes wrong. And mostly this is typically the mirror you spend time in front of.
Hardware
Like I said, the integration must be seamless, so all the electronics and outlets should be behind the mirror.
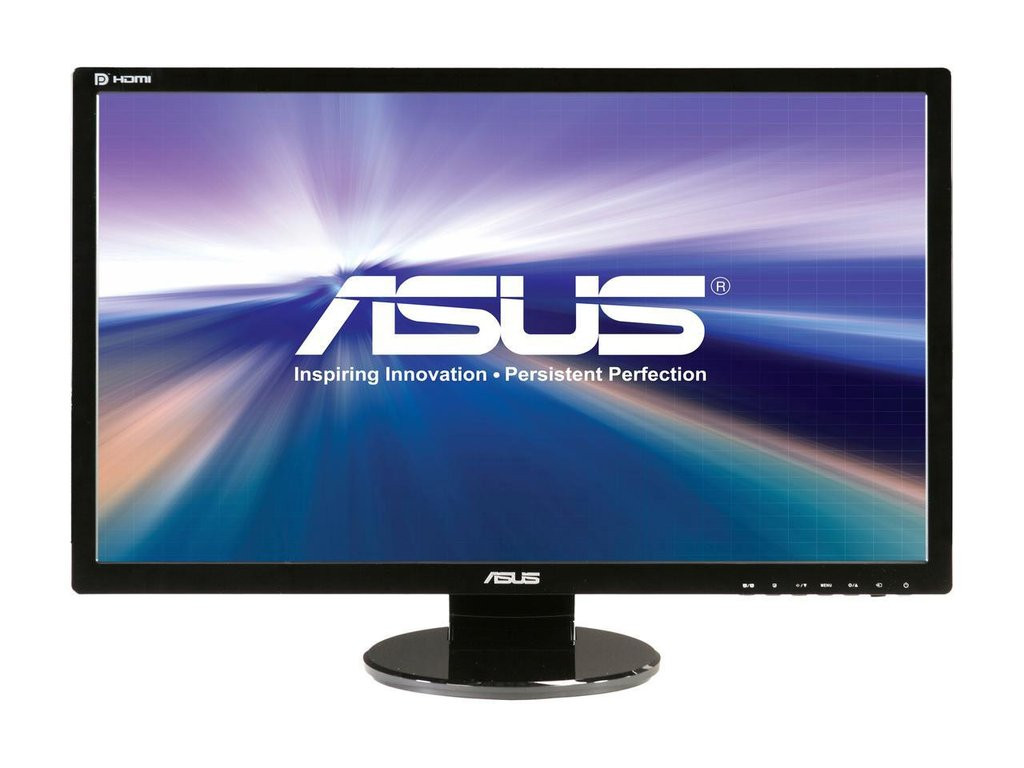
Fortunately I already had an old 27″ screen (Asus VE278Q) as well as a Raspberry Pi 3 waiting to be used in a project. That’s for the main parts.
Now, for the powering part, after considering to power on the device through a motion sensor, I took a simpler approch: hook it up to the room’s lights so when someone turns the lights on, so does the mirror. No electronics needed then, just power outlets.
One of the critical piece is the 1-way mirror. Most projects around here use acrylic mirrors, unfortunately this is not easy to find where I live, at least for a decent price. So I went with a classic glass mirror. Main drawback? Super heavy!
Keep in mind that 1-way mirror will add a little opacity to the screen rendering, so make sure to use one with the highest brightness value. Mine isn’t that good…
So let’s sum up the different parts:
- 1x mirror frame
- 1x 1-way mirror cutted for the frame
- 1x flat screen
- 1x Raspberry Pi 3
- 1x HDMI cable
- 2x power outlets
- some power cables
Software
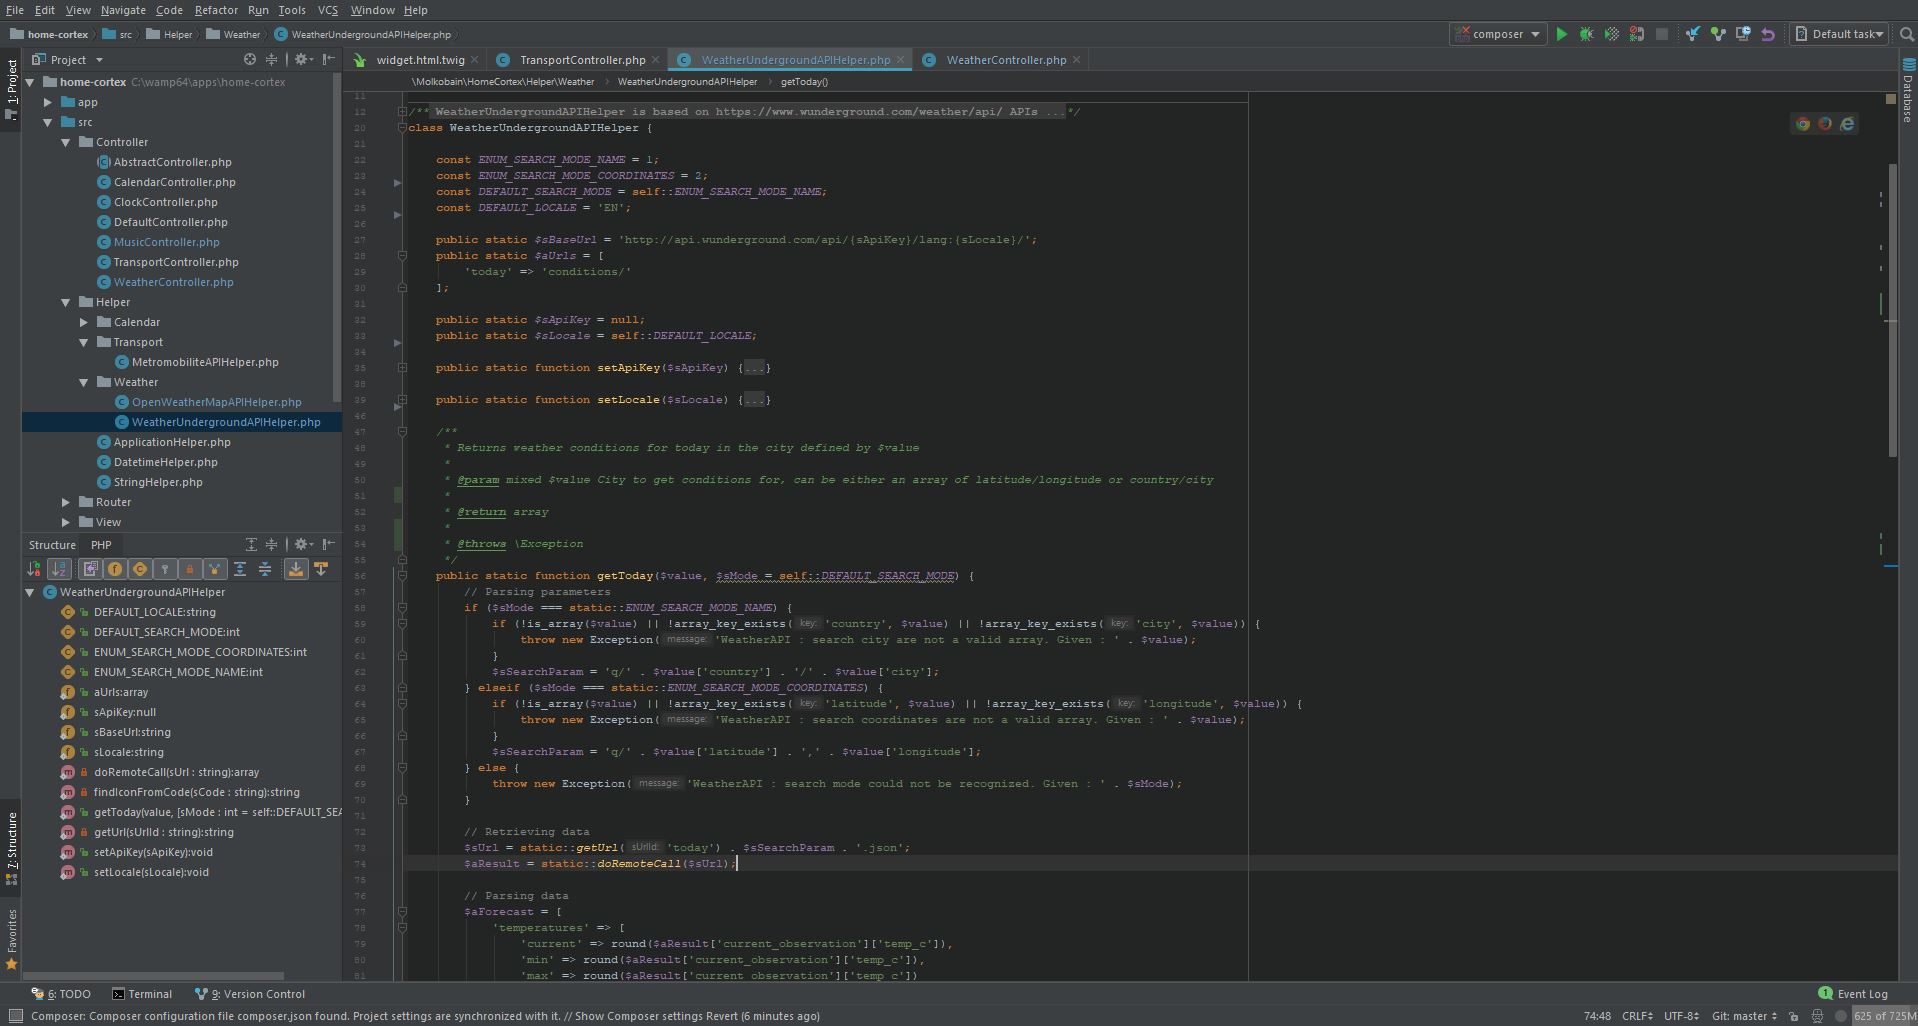
For the software, I wanted something tailored-made, easy to adjust, extensible and possibly reusable. An homemade website based on various APIs seemed to be the perfect combinaison.
- Calendar widget based on Google Calendar API.
- Transportation widget based on the local transport company real-time open data API.
- Weather widget based on WeatherUnderground API.
- All those integrated in a website displayed in Chrome kiosk mode (fullscreen mode).
Getting into it
Screen disassembly
Even if it is not a mandatory step, removing the screen’s bezel makes a better integration as it will be closer to the glass, otherwise a ghosting effect can appear.
This is the screen as-is.
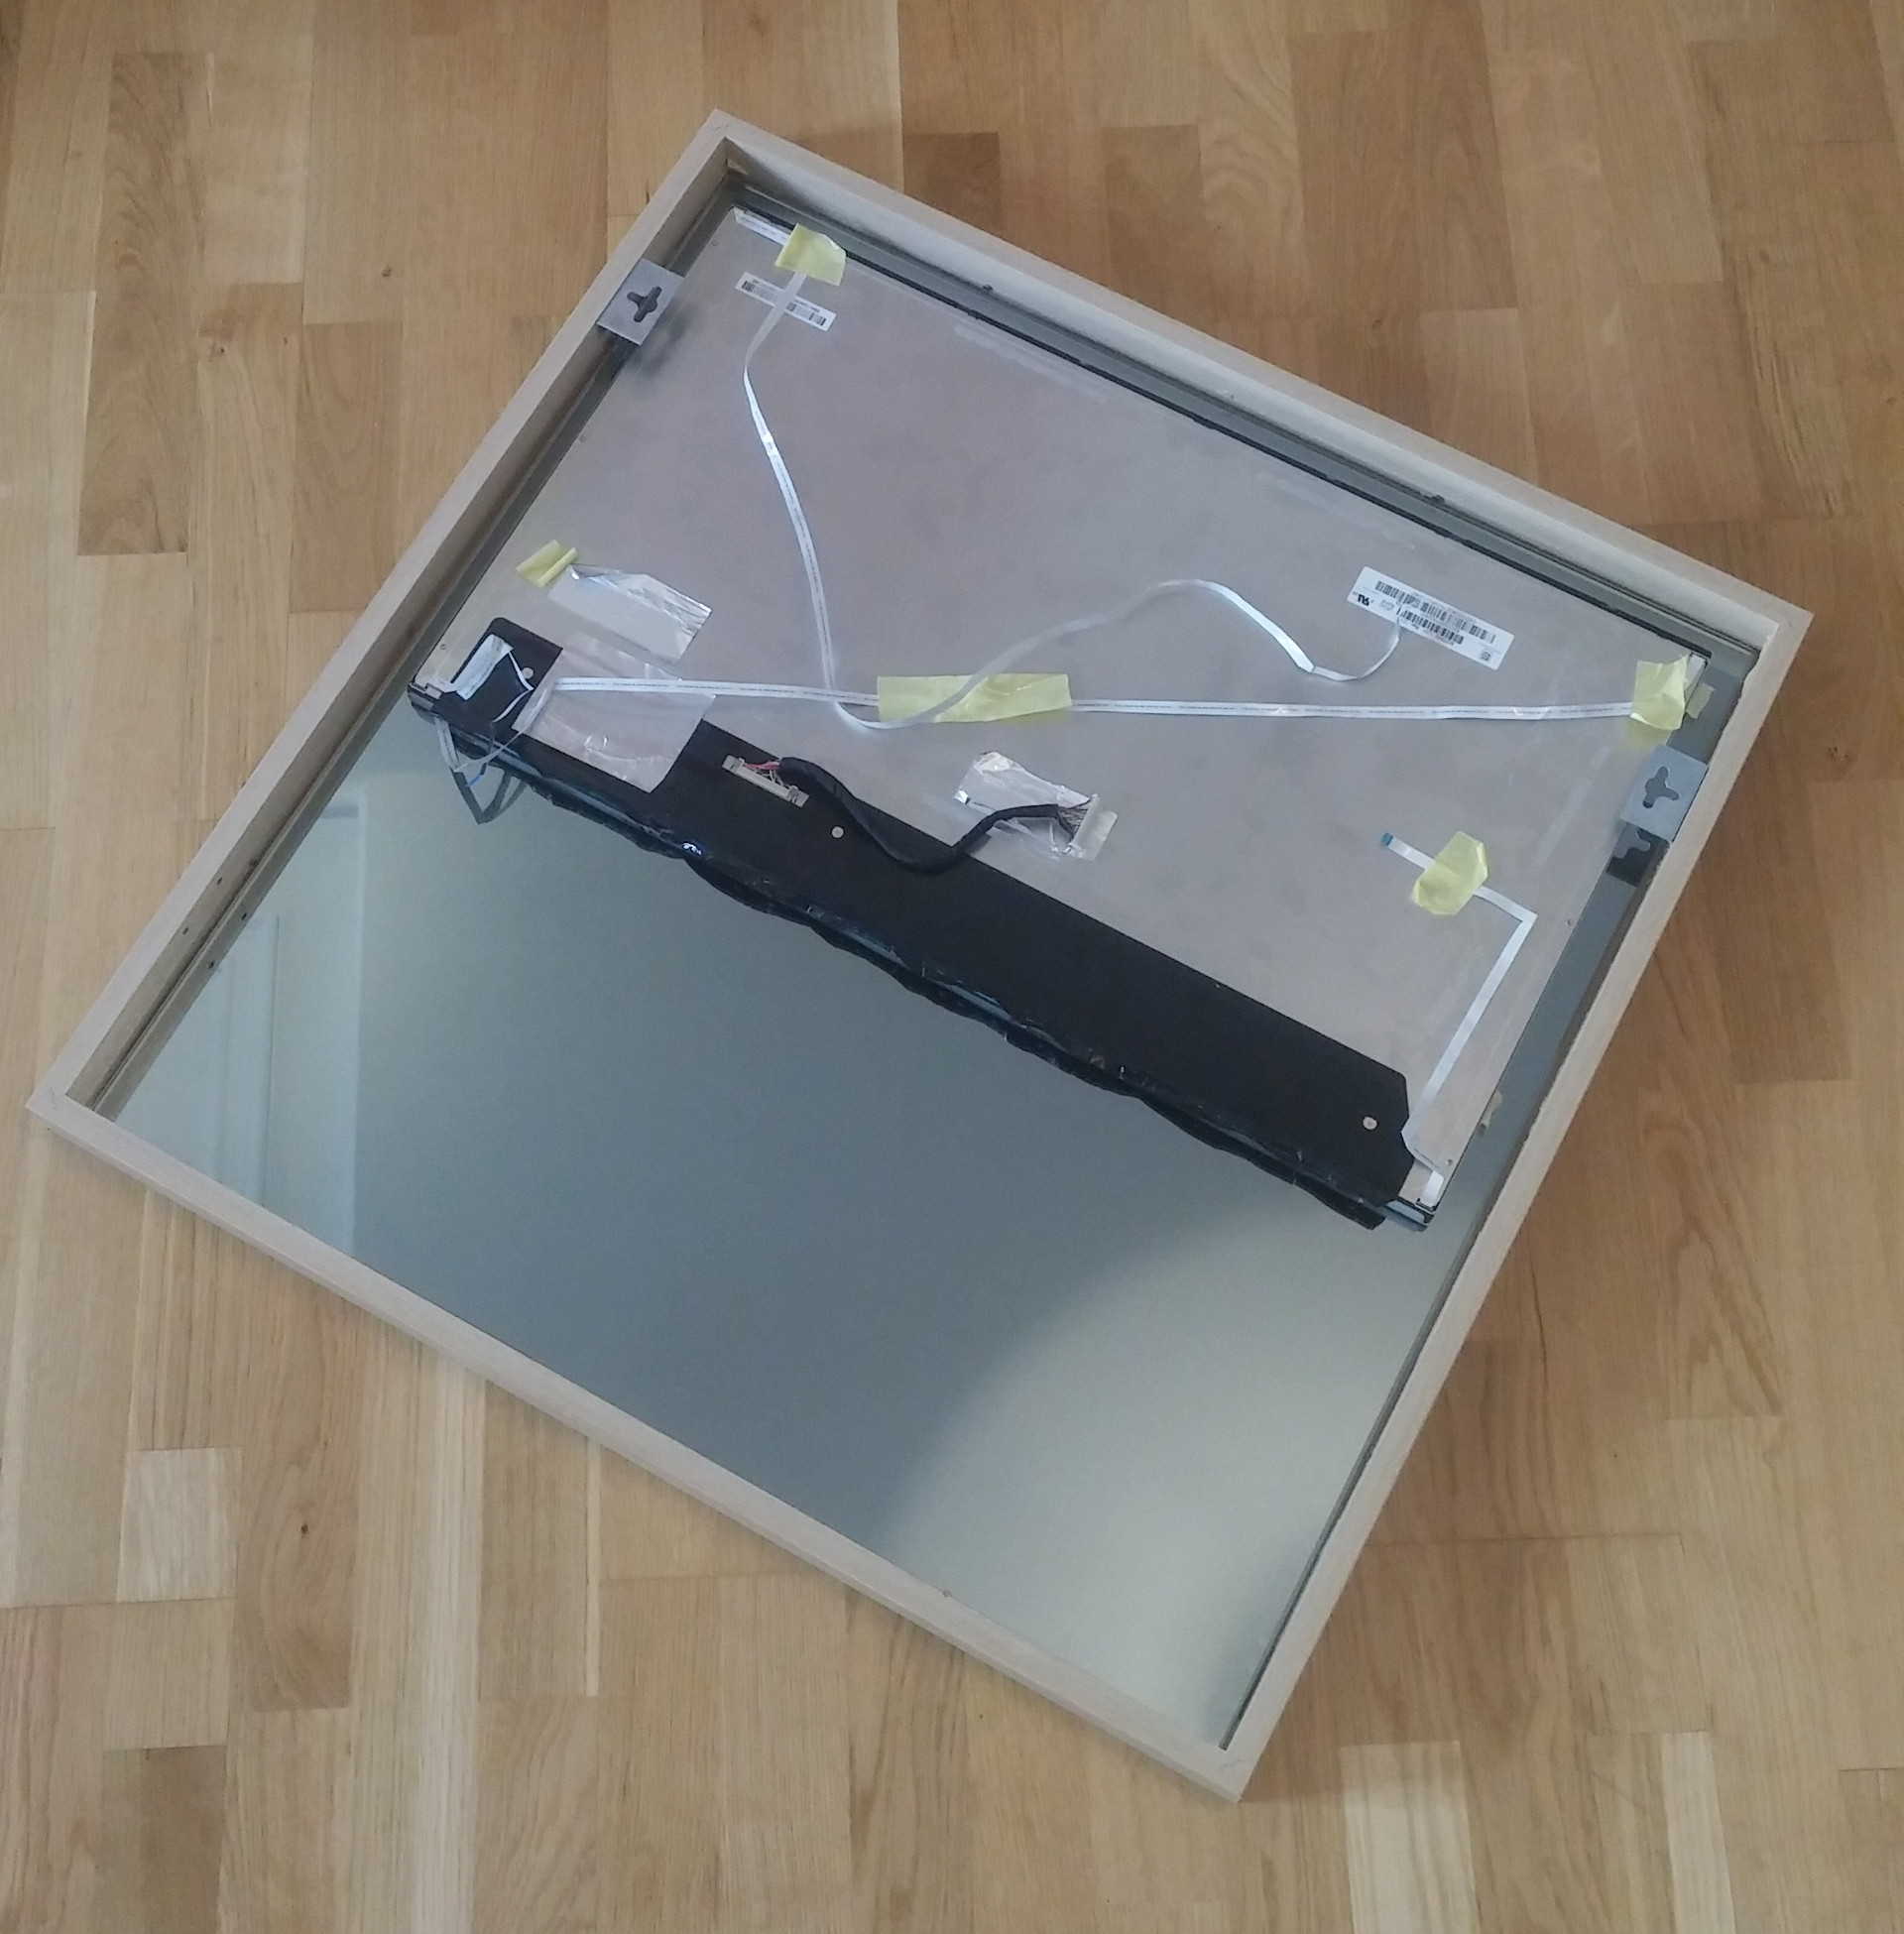
Once the screen has been stripped off every unnecessary parts, let’s see how it fits in the mirror.
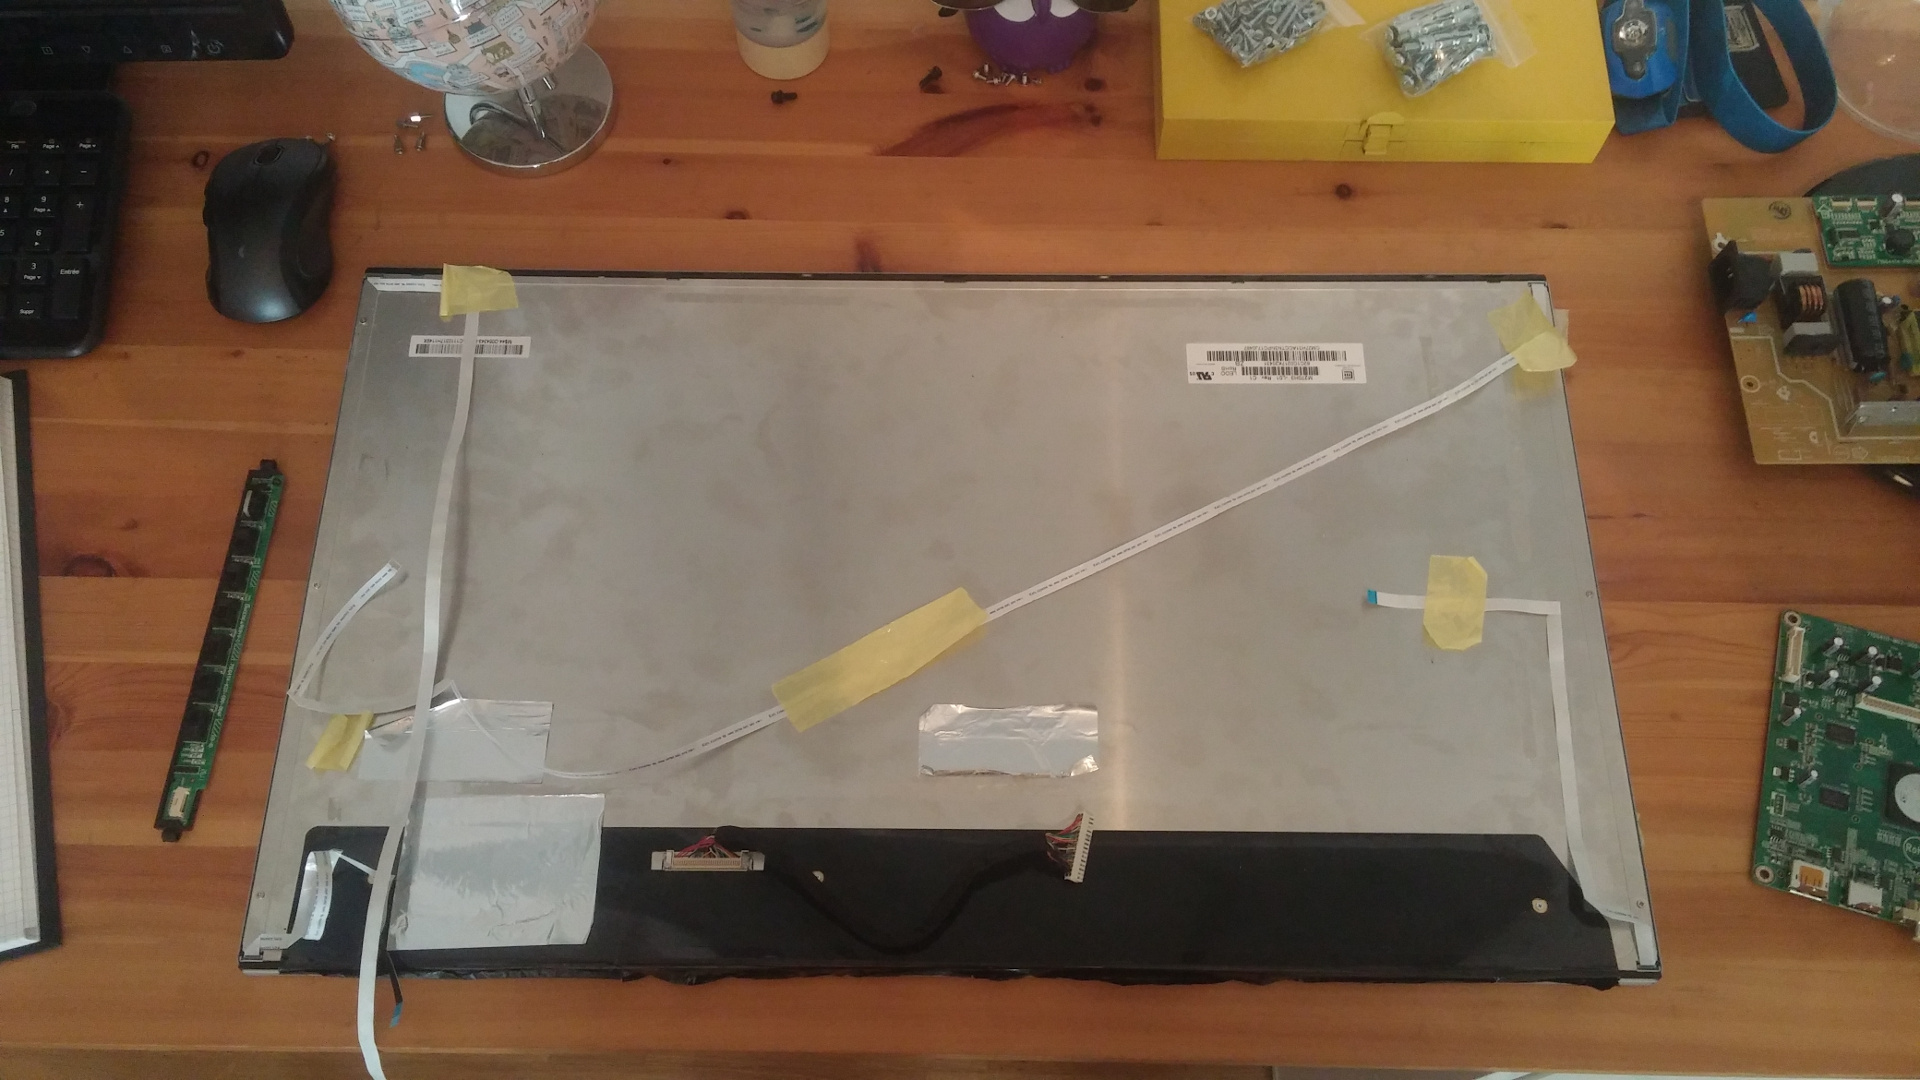
The depth of the mirror being limited, the electronics and power supply of the screen that were on the back of it had to be removed as they did not fit. They will be placed below it.
The screen takes almost all the mirror width but still needs to be stabilized. That will be done later.
Parts assembly
The screen takes around half the surface, leaving the other half for the Raspberry Pi, the power supply and the electronics. Luckily, it’s more than enough for everything.
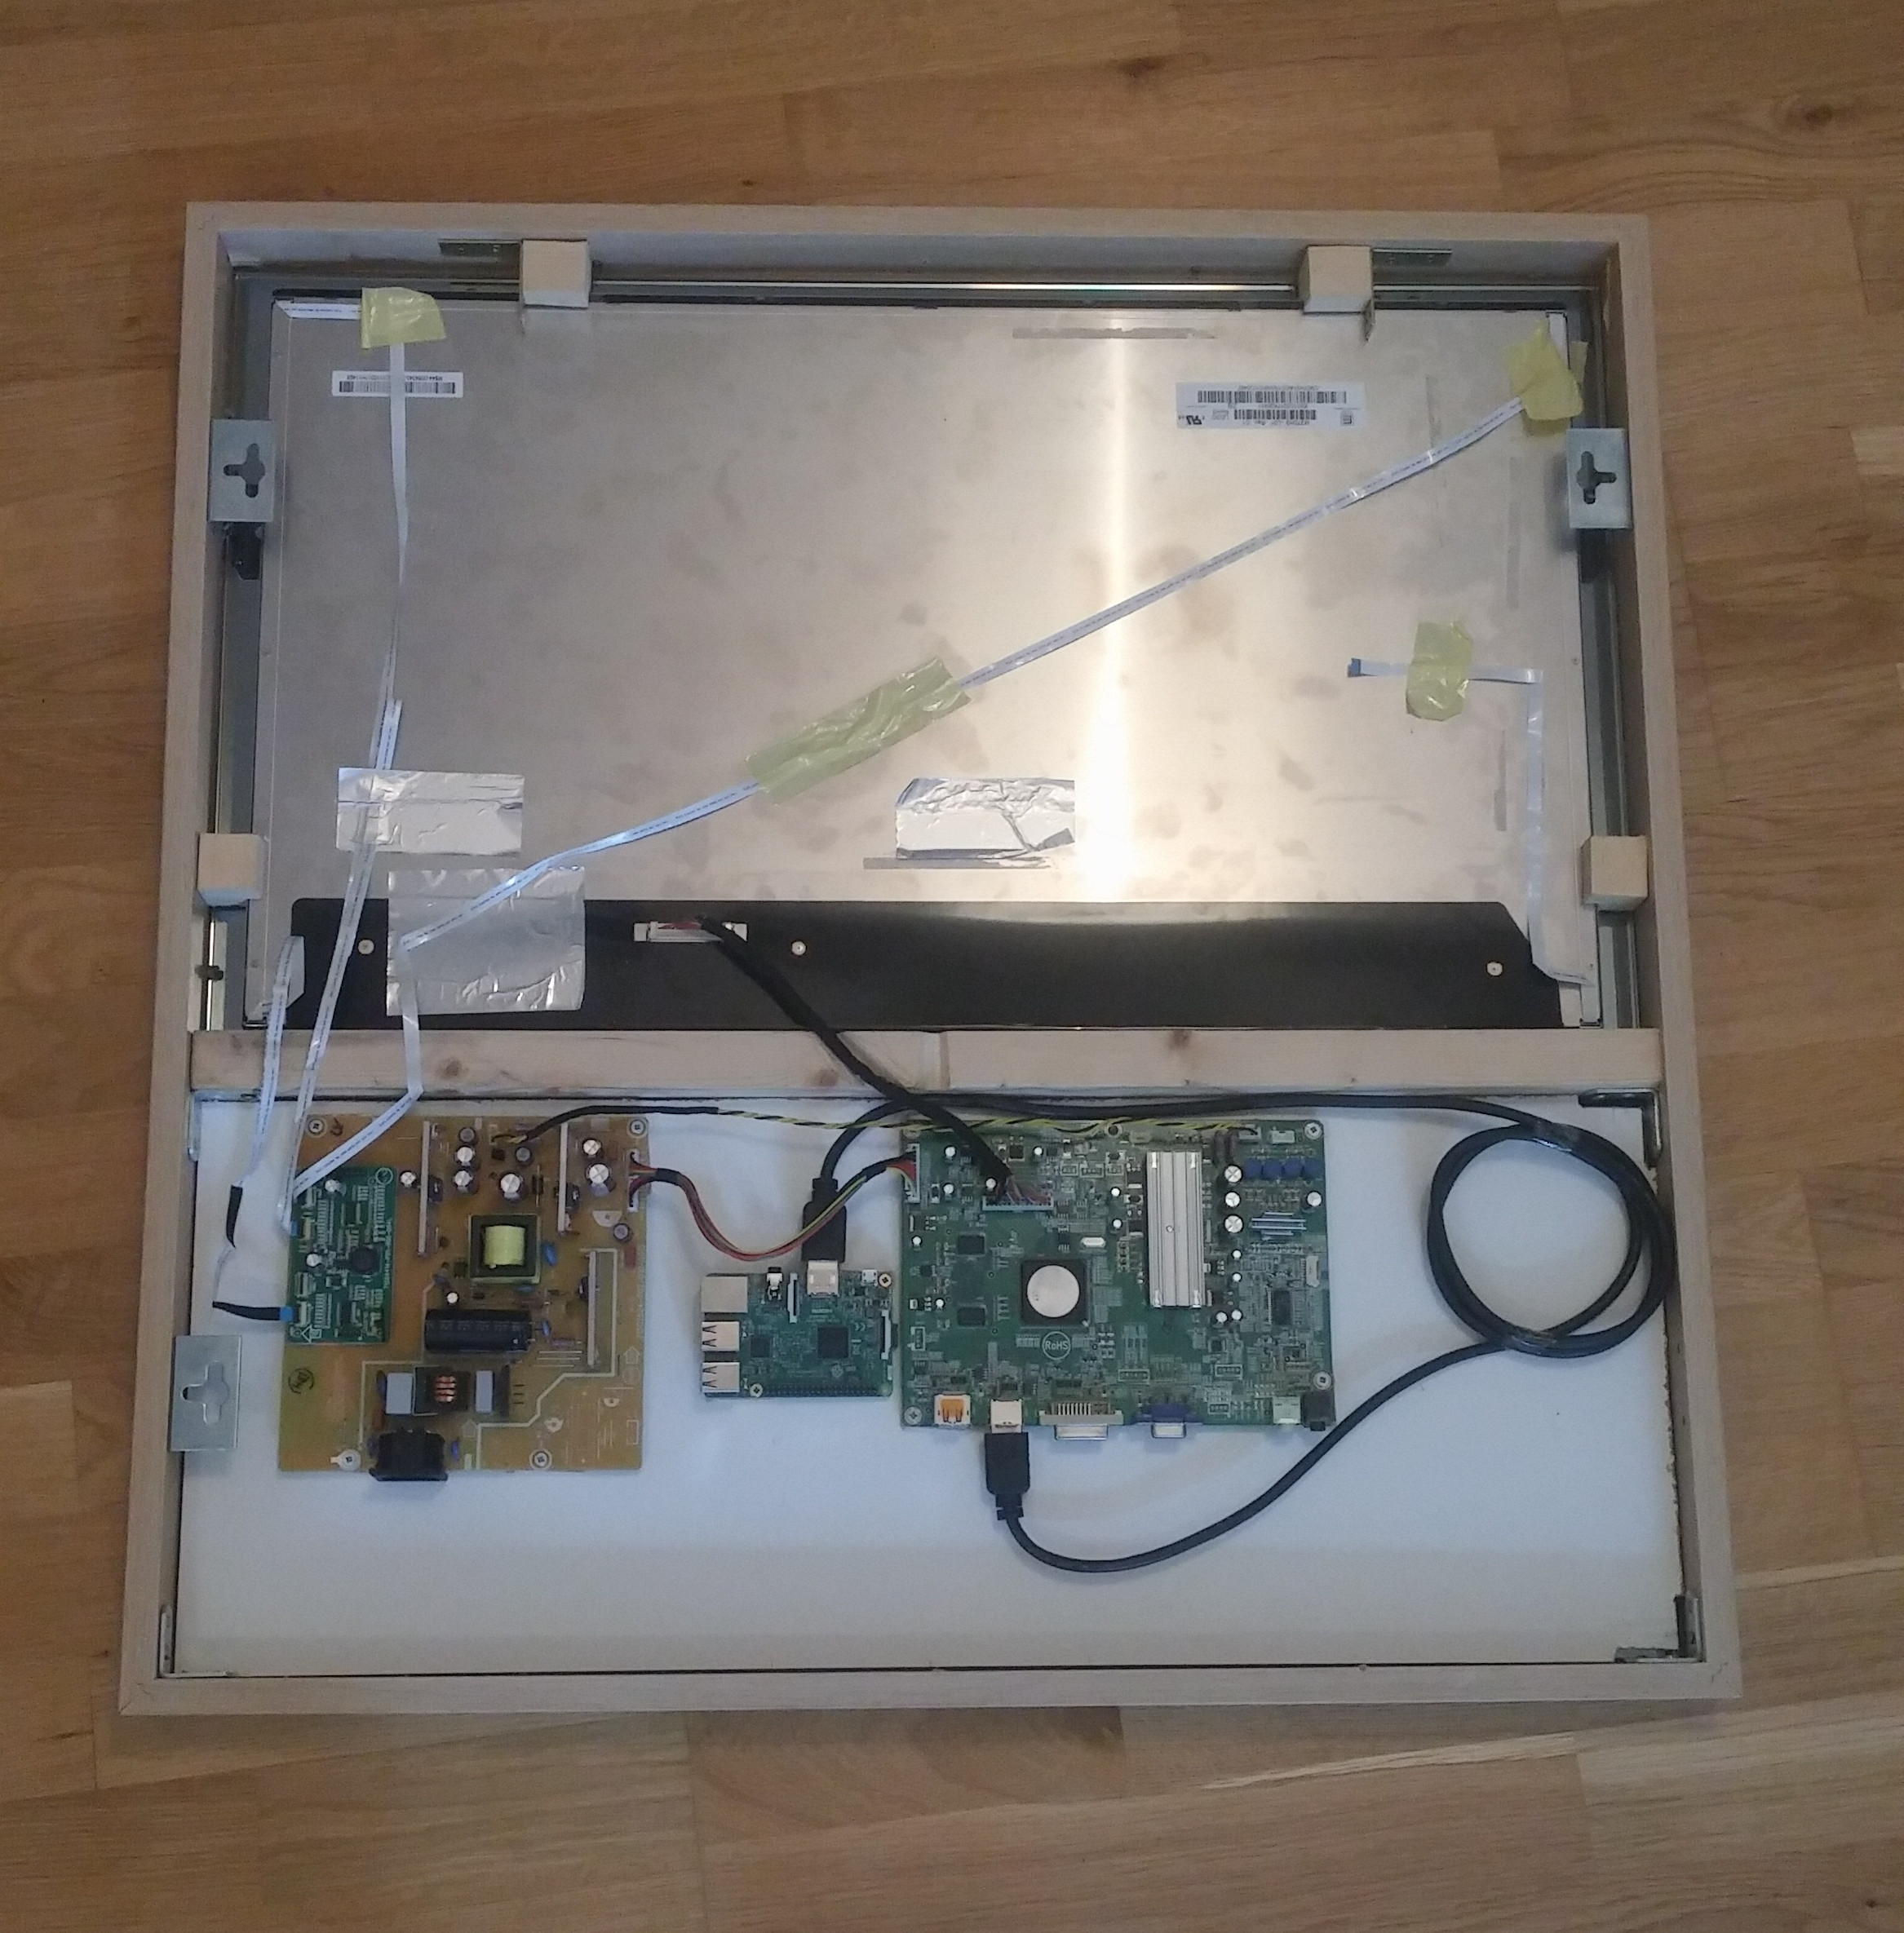
Frame hardening
Like said before, the 1-way glass mirror is a lot heavier than the original, so the frame had be reinforced to support both the glass and screen additional weight.
Also, stabilization blocks have been positioned around the screen to maintain its position.
Electric hooking
As the space (and depth) is very limited inside the mirror’s frame, I put 2 outlets in the wall, hooked to the lights circuit. Simple.
Coding
Not much to tell on the coding as nowadays there are a lot of APIs and resources available on the web. I based the website on the Silex framework which is lightweight and easy to use, after a few hours of playing with the APIs, I finally got something that I could test on the device.
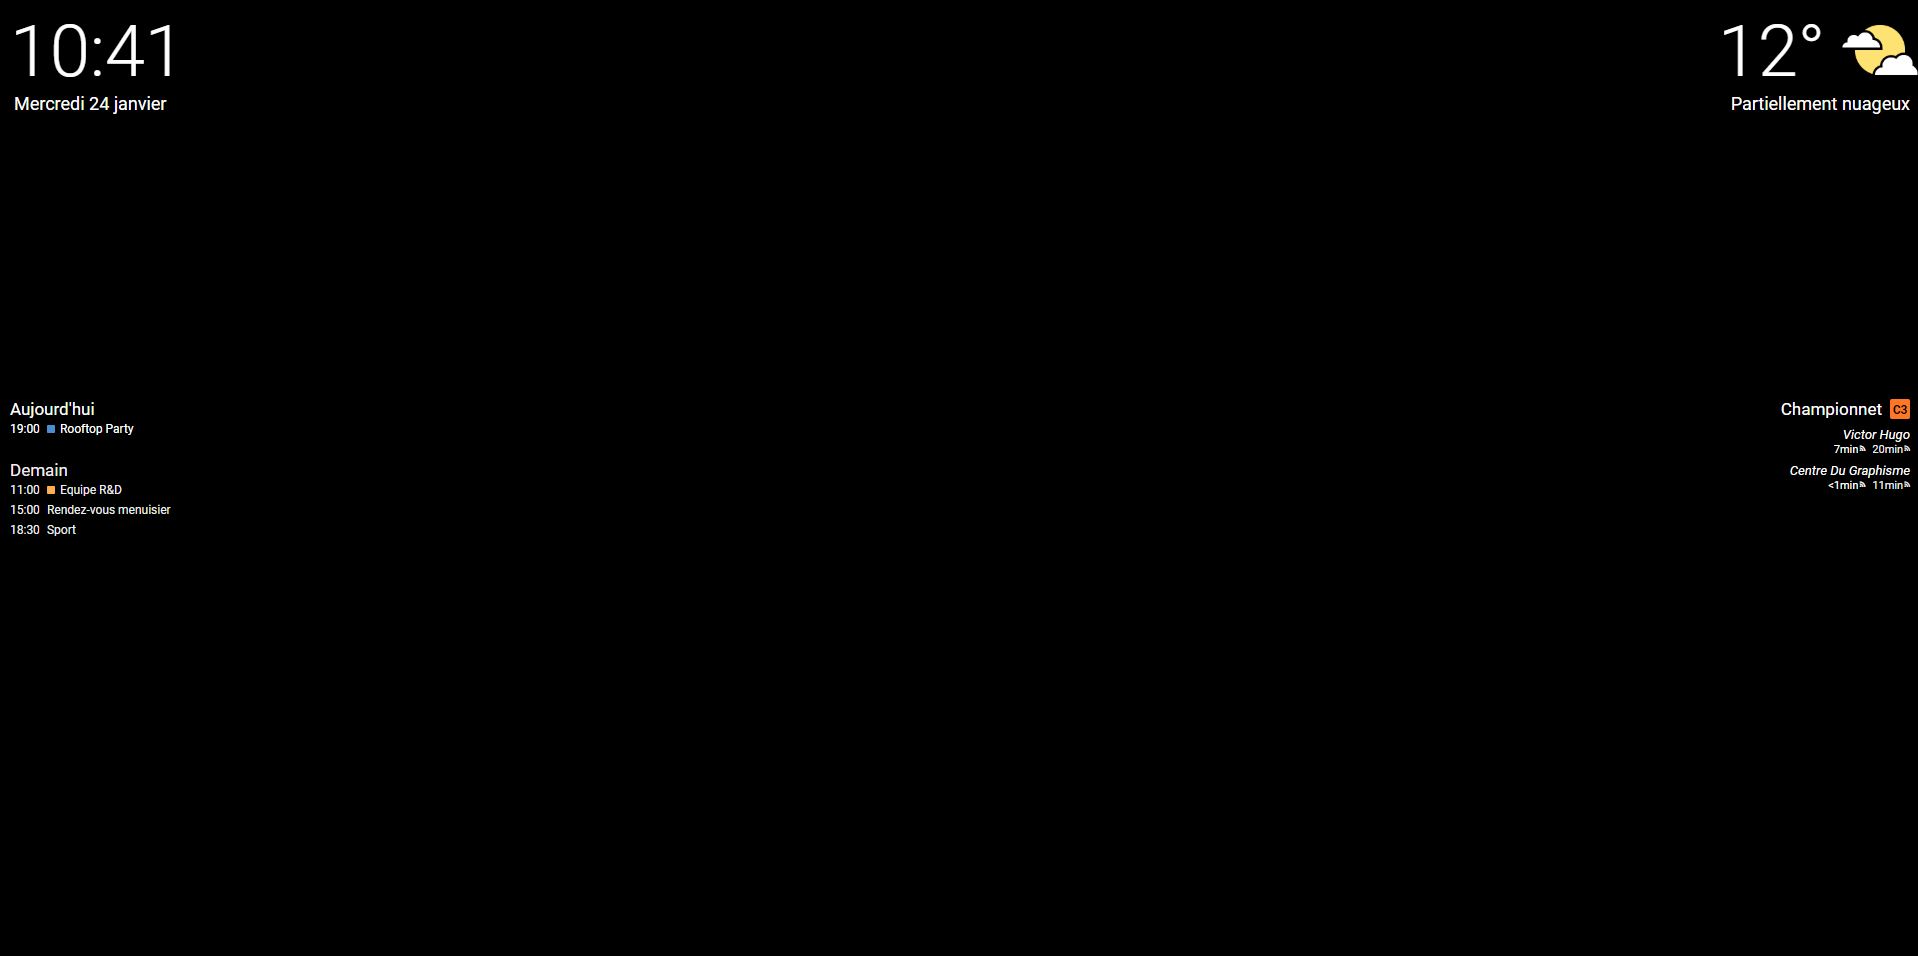
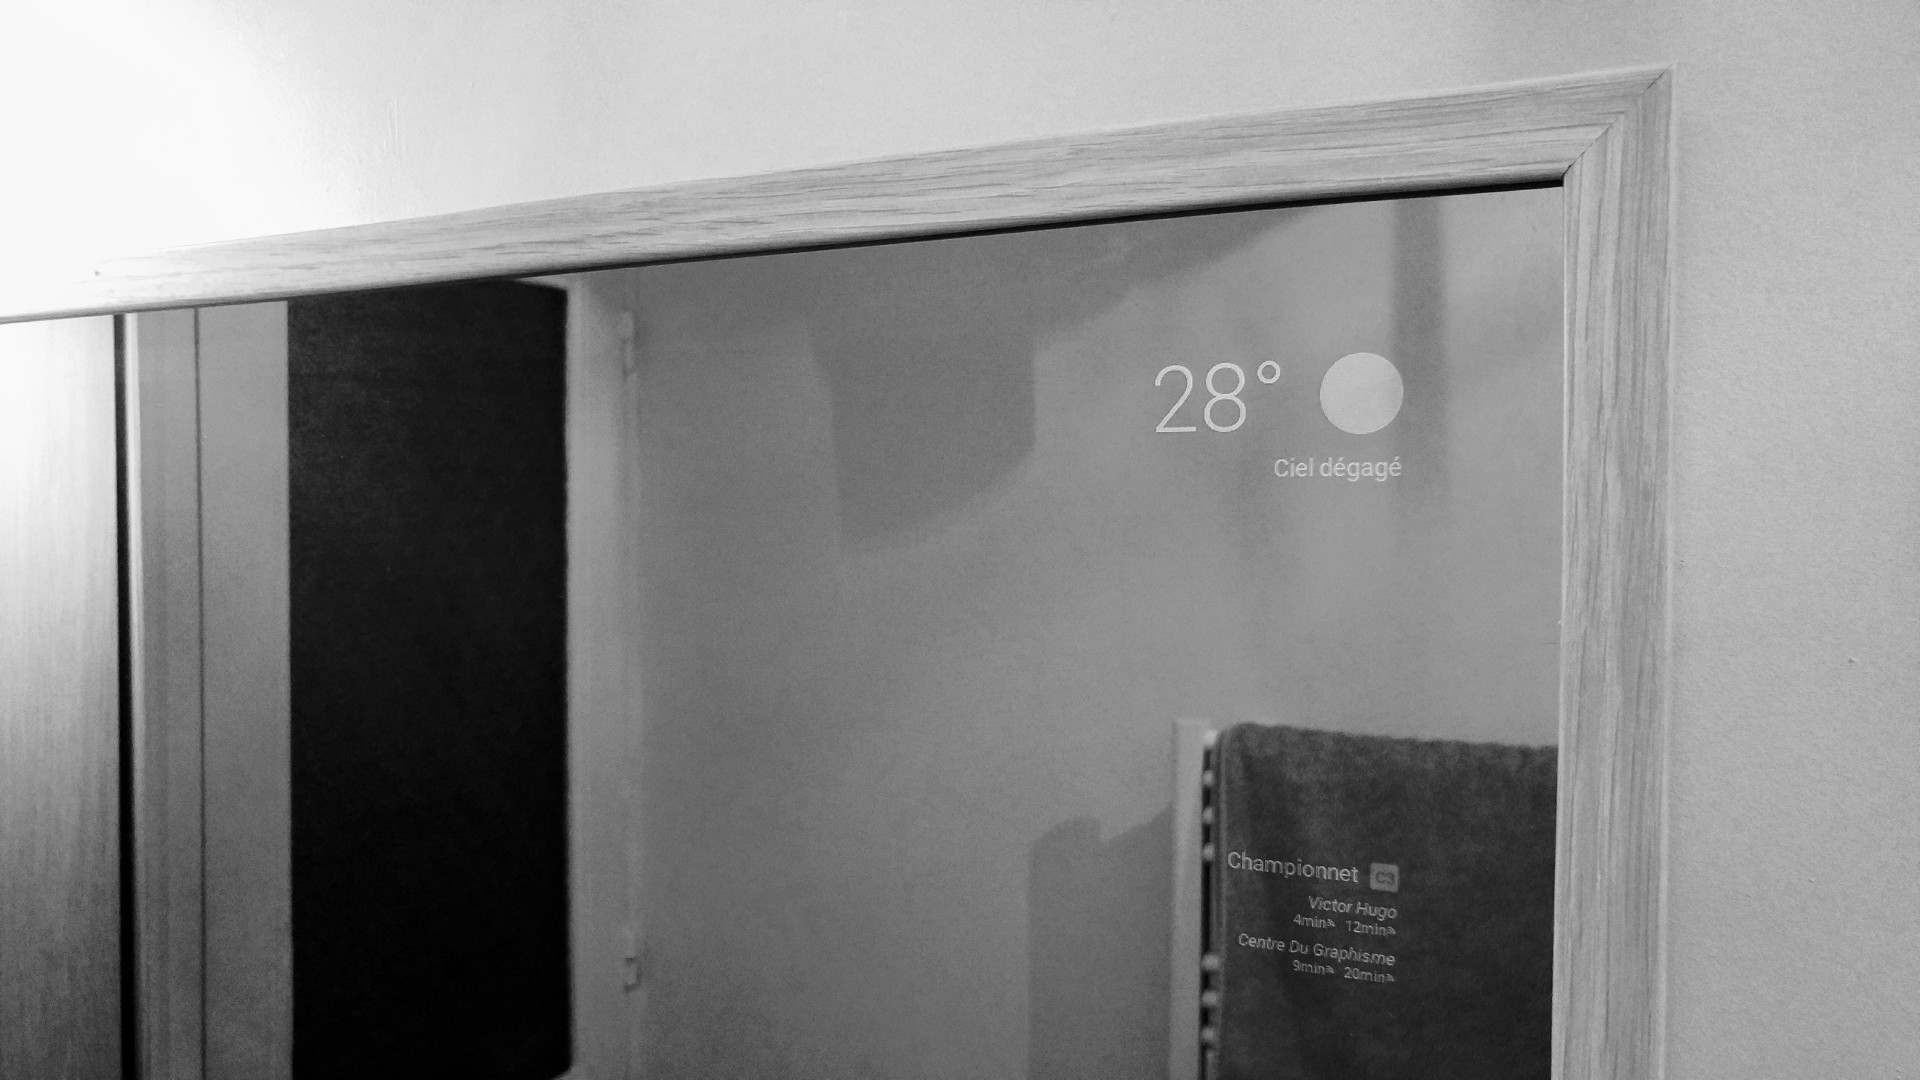
And here is the result, clear and simple UI! 🤓
Now, all that’s left is to prepare the Raspberry Pi to boot on Chrome with kiosk mode activated and pointing to this web application.
Done
And that’s it! Looks like a regular mirror until you power it on and let the magic happen 🙂
Next steps
I still have a few things in mind that I would like to do with this project:
- Like automatically connect it to a bluetooth speaker when it is powered on,
- Add a Spotify / Deezer player to stream on the speaker,
- And control all this through gestures with a Flick controller.